
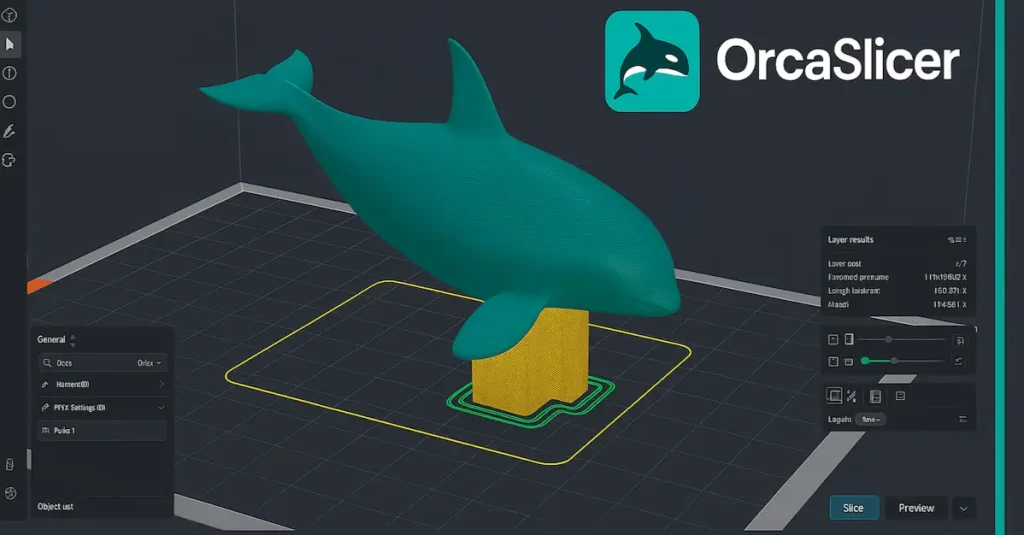
Orca Slicer: The Best 3D Printing Slicer
3D printing has come a long way in just a few years. Printers are now faster, more affordable, and capable of producing professional-quality results. But no matter how powerful your machine is, the slicer software you use makes all the difference. A slicer converts your 3D model into instructions your printer can follow — and the quality of those instructions directly affects your prints.
If you’re looking for a slicer that combines power, speed, and ease of use, Orca Slicer is one of the best tools available today. Whether you’re a beginner experimenting with your first prints or a professional designer creating precise functional parts, Orca Slicer provides the flexibility and features you need.
What is Orca Slicer?
Orca Slicer is a free, open-source slicing software designed for FDM (Fused Deposition Modeling) 3D printers. It is based on Bambu Studio and PrusaSlicer, combining the best features of both while introducing improvements of its own. The slicer takes your 3D model (STL, OBJ, or 3MF) and converts it into G-code, which instructs your printer exactly how to move, extrude filament, and build your object layer by layer. Unlike many slicers that feel outdated or overly complicated, Orca Slicer focuses on speed, modern features, and user-friendliness. This makes it ideal for both hobbyists and professionals.
Download Orca Slicer Latest Version 2.3.1
Orca Slicer is a free, open-source 3D printing slicer built on PrusaSlicer and Bambu Studio, offering both speed and precision for makers of all levels. Compatible with Windows, macOS, and Linux, it comes with ready-to-use print profiles so you can start printing immediately.
With features like high-speed slicing, project-based workflow, multi-color printing support, STEP file import, and built-in 3D text tools, Orca Slicer gives you professional results without the complexity. Beginners enjoy the simple interface, while advanced users benefit from powerful customization.
It also supports remote monitoring and control, making it easy to manage long or complex print jobs from anywhere. Whether you’re creating prototypes, educational models, or detailed designs, Orca Slicer ensures smooth, reliable, and high-quality prints.
👉 Download Orca Slicer today for Windows, macOS, or Linux and experience the future of 3D printing.
 For Window
Windows 10 (64-bit) or above.
- OS: Windows 10 or Windows 11 (64-bit)
- Processor: Intel i5 / AMD Ryzen 5 or higher
- RAM: 8 GB minimum (16 GB recommended)
- GPU: OpenGL 4.5 compatible GPU (NVIDIA/AMD recommended)
- Storage: 1 GB free space
- Internet: Required for updates & cloud features
For Mac
macOS 11.0 or above.
- OS: macOS 11.0 (Big Sur) or later
- Processor: Apple Silicon (M1/M2) or Intel i5 equivalent
- RAM: 8 GB minimum (16 GB recommended)
- GPU: Integrated or dedicated GPU with OpenGL 4.5 support
- Storage: 1 GB free space
- Internet: Required for updates & cloud features
🐧 For Linux
Ubuntu 20.04 or above
- OS: Ubuntu 20.04+, Debian 10/11, Fedora 35+, or equivalent legacy 64-bit distribution
- Processor: Intel i5 / AMD Ryzen 5 or higher
- RAM: 8 GB minimum (16 GB recommended)
- GPU: OpenGL 4.1+ compatible GPU (NVIDIA/AMD recommended)
- Storage: 1 GB free space
- Internet: Required for updates & cloud features
For Windows (Portable)
Windows 10 (64-bit) or above.
- OS: Windows 10 or Windows 11 (64-bit) — portable mode runs without installer
- Processor: Intel i3 / AMD Ryzen 3 or higher (Intel i5 / Ryzen 5 recommended)
- RAM: 4 GB minimum (8 GB recommended)
- GPU: OpenGL 4.5 compatible GPU recommended (integrated GPUs may work for basic use)
- Storage: 500 MB free space (additional space for projects and cache)
- Internet: Required for updates & cloud features (optional for offline slicing)
For Mac (x86_64)
macOS 11.0 or above.
- OS: macOS 11.0 (Big Sur) or later
- Processor: Intel Core i5 (x86_64) or higher
- RAM: 8 GB minimum (16 GB recommended)
- GPU: OpenGL 4.5 compatible GPU (dedicated GPU recommended for best performance)
- Storage: 1 GB free space
- Internet: Required for updates & cloud features
🐧 For Linux (Flatpak)
Ubuntu 20.04 or above
- OS: Ubuntu 22.04+, Fedora 37+, Debian 12+, or equivalent modern 64-bit distribution
- Processor: Intel i5 / AMD Ryzen 5 or higher
- RAM: 8 GB minimum (16 GB recommended)
- GPU: OpenGL 4.5 compatible GPU (NVIDIA/AMD recommended)
- Storage: 1 GB free space
- Internet: Required for updates & cloud features
Download OrcaSlicer Nightly Builds
Looking to try the latest features before they’re officially released? OrcaSlicer Nightly Builds give you access to the newest updates, experimental tools, and bug fixes straight from active development. While these builds may be less stable than official releases, they’re perfect for advanced users who want to test improvements, contribute feedback, or explore cutting-edge functionality.
For Windows
Windows 10 (64-bit) or above.
- Full installer package for Windows 10 & 11 (64-bit)
- Includes all new experimental features as they’re released
- Easy to update with nightly refreshes
- Best choice for users who want the cutting-edge experience on Windows
For Mac
macOS 11.0 or above.
- Available for both Intel (x86_64) and Apple Silicon (M1/M2)
- Runs on macOS Big Sur (11.0) and later
- Optimized builds for better performance on Mac hardware
- Lets Mac users test features before they hit stable releases
🐧 For Linux
Ubuntu 20.04 or above
- Compatible with Ubuntu 20.04, Debian 10/11, Fedora 35+
- Keeps older systems in sync with the newest Orca Slicer improvements
- Provides experimental features without needing to upgrade OS
- Ensures wider accessibility for Linux enthusiasts
For Windows (Portable)
Windows 10 (64-bit) or above.
- No installation required — run directly as a portable app
- Perfect for USB drives or multi-PC usage
- Always includes the latest nightly updates
- Flexible testing option without altering your system setup
🐧 For Linux (flatpak)
Ubuntu 20.04 or above
- Optimized for Ubuntu 22.04+, Fedora 37+, Debian 12+
- Supports modern Linux libraries and drivers for better performance
- Frequent nightly refreshes with the newest changes
- Best for Linux users who want the smoothest cutting-edge experience
Download Orca Slicer – Stable Releases (Old Versions)
Looking for a previous release of Orca Slicer? This section provides older versions and archived builds for users who prefer a specific release or need compatibility with older systems. While we recommend using the latest version for the best features and bug fixes, you can download past versions here.
How to Download and Install Orca Slicer? [Complete Guide]
If you’re new to 3D printing or just got your Orca Lab printer, installing the right slicer is the first step to producing high-quality prints. Follow this complete guide to download and install Orca Slicer on your computer.
📥 Download Steps
If you want to download the Windows version of Orca Slicer, click on the Windows download button. If you’re using macOS, click the Mac download button. For Linux users, select the Linux download button.
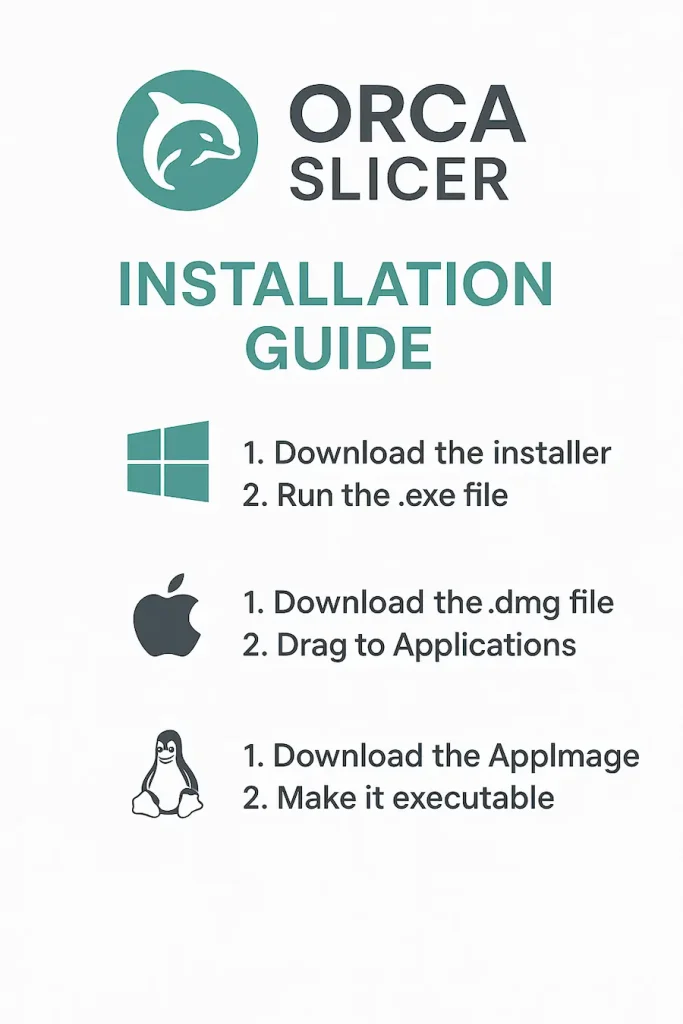
⚙️ Installation Steps
- On Windows:
- The file is downloaded in
.exeformat. - Double-click the file and follow the on-screen installation wizard.
- Once completed, Orca Slicer will be added to your Start Menu.
- On macOS:
- The file is downloaded in
.dmgformat. - Open the file and drag the Orca Slicer app into the Applications folder.
- You can then open it directly from Applications.
- On Linux:
- The file is usually provided as an AppImage or pre-compiled package.
- Download the file and make it executable:
chmod +x OrcaSlicer.AppImage - Then run it with:
./OrcaSlicer.AppImage - Alternatively, install using your package manager if a distribution build is available.
🚀 Launch Orca Slicer
- On Windows, open Orca Slicer from the Start Menu.
- On macOS, launch it from the Applications folder.
- On Linux, run the AppImage or open it via your system’s application menu.
- When starting Orca Slicer for the first time, you’ll be guided through the printer setup wizard.
- Simply select your 3D printer model and region, and Orca Slicer will configure the recommended settings for you.
How to Use Orca Slicer?
Orca Slicer is designed to make 3D printing easier for both beginners and advanced users. Follow this step-by-step guide to get started with your first print:
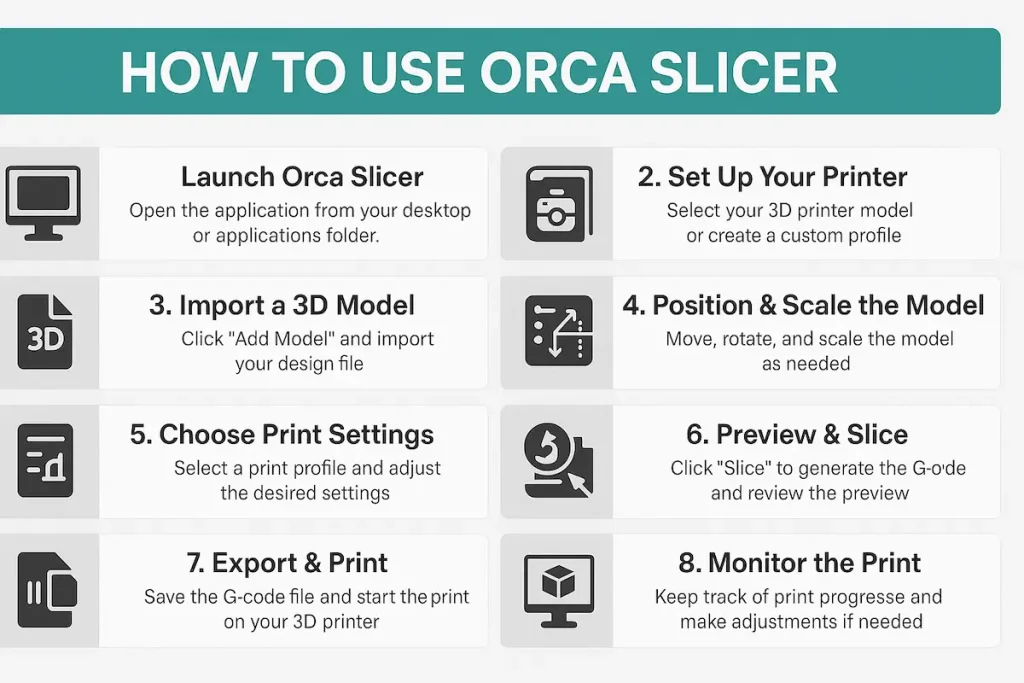
1. Launch Orca Slicer
- Open the application from your Start Menu (Windows), Applications folder (macOS), or AppImage/launcher (Linux).
- The setup wizard will appear the first time you open the software.
2. Set Up Your Printer
- Select your 3D printer model from the built-in profiles.
- If your printer is not listed, create a custom profile by entering details like build volume, nozzle size, and filament diameter.
- Save the configuration for future use.
3. Import a 3D Model
- Click Add Model and import your design file.
- Supported formats include STL, 3MF, OBJ, and STEP.
- Your model will appear on the virtual build plate.
4. Position & Scale the Model
- Use the move, rotate, and scale tools to adjust your model.
- Ensure it fits within your printer’s build area and is correctly oriented for printing.
5. Choose Print Setting
- Select a print profile (e.g., draft, standard, or high quality).
- Adjust key settings like layer height, infill density, supports, and brim/raft if needed.
- Beginners can stick with the default profiles; advanced users can fine-tune for specific results.
6. Preview & Slice
- Click Slice to generate the G-code.
- Use the preview mode to check layer-by-layer paths, print time estimates, and material usage.
- Make adjustments if necessary before exporting.
7. Export & Print
- Save the G-code file to your SD card, USB drive, or send it directly to your printer if connected via Wi-Fi.
- Start the print from your printer’s control panel or remotely through Orca Slicer’s monitoring features.
8. Monitor the Print
- Keep track of your print progress inside Orca Slicer.
- Pause, stop, or resume prints when necessary.
- If using remote monitoring, check updates from anywhere with internet access.
✅ That’s it! You’re now ready to use Orca Slicer to create high-quality 3D prints. With practice, you’ll learn how to optimize settings for faster, more reliable, and professional results.
Why Choose Orca Slicer?
With so many slicers available — like Cura, PrusaSlicer, SuperSlicer, and others — why should you choose Orca Slicer?
| Feature | Orca Slicer | Cura | PrusaSlicer | Bambu Studio | SuperSlicer |
|---|---|---|---|---|---|
| Project Workflow | ✅ Yes | ❌ No | ❌ No | ✅ Yes | ✅ Yes |
| Speed Optimization | ⚡ Fast | ⚠️ Moderate | ⚠️ Balanced | ⚡ Fast | ⚡ Good |
| Multi-Color Printing | ✅ Supported | ⚠️ Limited | ✅ Supported | ✅ Native AMS | ✅ Supported |
| STEP File Support | ✅ Yes | ❌ No | ❌ No | ✅ Yes | ❌ No |
| 3D Text | ✅ Built-in | ❌ No | ❌ No | ✅ Built-in | ❌ No |
| Remote Monitoring | ✅ Yes | ❌ No | ❌ No | ✅ Yes | ❌ No |
| Platforms | Win/Mac/Linux | Win/Mac/Linux | Win/Mac/Linux | Win/Mac | Win/Mac/Linux |
| Best For | Beginners & Pros | Beginners | Prusa Owners | Bambu Owners | Tinkerers |
Why Orca Slicer Stands Out?
Let’s take a closer look at some of the features that make this slicer shine:
Cross-Platform Compatibility
Orca Slicer works on Windows, macOS, and Linux, making it accessible to all types of makers. Unlike some slicers restricted to specific systems, it ensures a consistent experience across platforms. This flexibility allows both hobbyists and professionals to use their preferred operating system without sacrificing performance or features.
Open Source & Free
One of the biggest advantages of Orca Slicer is that it’s completely free and open-source. The community actively contributes updates, bug fixes, and new features. This ensures transparency, continuous improvement, and accessibility, allowing everyone to enjoy professional-grade slicing software without paying for expensive licenses or locked premium features.
Customizable Print Profiles
Orca Slicer comes with pre-configured print profiles but also allows deep customization. Users can fine-tune parameters such as layer height, infill, supports, and extrusion settings. This flexibility makes it suitable for both beginners who want ready-to-use profiles and advanced users who demand complete control over every detail of their prints.
User-Friendly Interface
Despite its advanced features, Orca Slicer maintains a clean, intuitive interface that makes slicing straightforward. Clear menus, tooltips, and guides help beginners get started quickly, while advanced options remain accessible without clutter. This balance of simplicity and depth ensures users at all levels can work efficiently and confidently.
High-Speed Slicing
With optimized algorithms, Orca Slicer can generate G-code much faster than many competitors. This speed doesn’t compromise accuracy or detail, making it ideal for rapid prototyping. Users enjoy shorter preparation times, smoother performance, and quicker iterations, ensuring they can move from design to printing without unnecessary delays.
Multi-Color Printing Support
Orca Slicer supports multi-color and multi-material printing with systems like AMS. It automates filament changes, purge towers, and material switching to deliver seamless results. This makes it easier for users to produce vibrant multi-color designs or functional prints that combine different materials, all with minimal manual effort.
FAQs
Final Conclusion
A good slicer can make the difference between a failed print and a masterpiece. Orca Slicer stands out because it combines speed, advanced features, and accessibility in one free package.
Whether you’re just starting out in 3D printing or you’re an engineer looking for precision and control, Orca Slicer has everything you need. From STEP import to multi-material support, it bridges the gap between hobbyist and professional use.